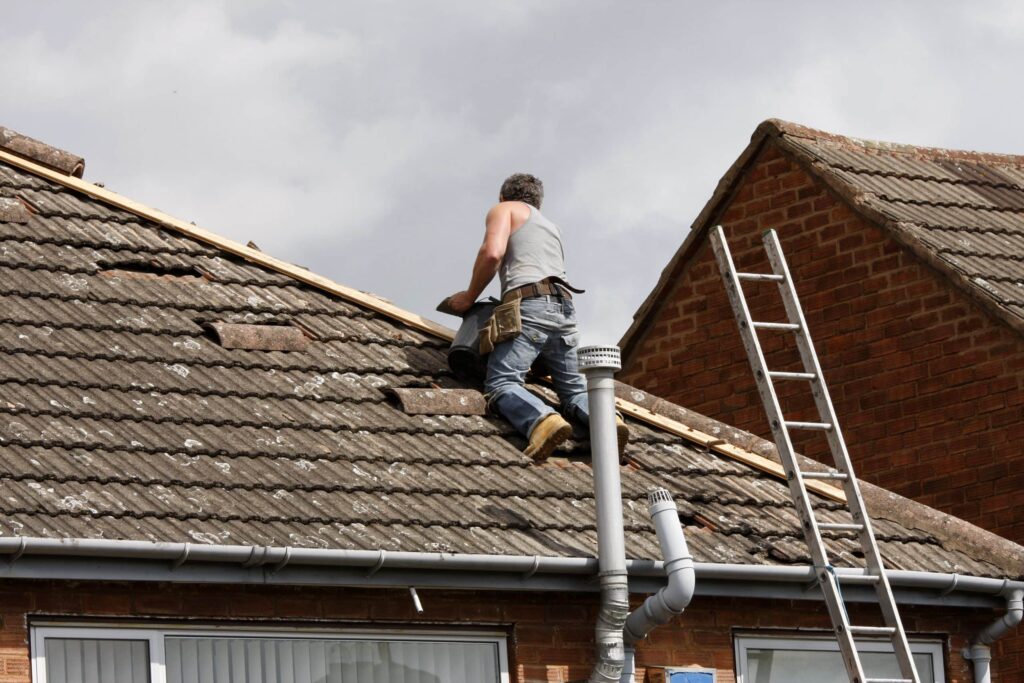
Homeowners find great joy in doing their own projects around their house and property. There’s something to be said about accomplishing such a task, plus saving money doing it makes it even more attractive. We want to start by saying that we recommend hiring a professional roofer to handle any roofing project, but if you have the experience and skills to handle a DIY roofing project, go for it! Just read our tips on how to roof a house, and you should be in good shape.
Pros of DIY Roofing:
Save Money
You may start on the venture of DIY roofing because you want to save money. This is definitely true that doing any home project yourself can save you a ton of money. After all, the majority of costs of any contract work are due to the time and labor costs. The more complex the job, the higher the cost of labor may be.
Overall, materials will not be the biggest chunk of the cost unless you choose a very premium route of materials or brands. You can head to the store and buy your own bulk materials, plus the tools you need, and probably not come close to how much it might cost to hire a professional contractor.

Work on Your Own Timeline
Another reason people may want to do their own work is that they can work on their own timeline and not rush into anything. You also don’t need to have any strangers in or around your home, which some people might feel uncomfortable with no matter how reputable a contractor may be. Either way, DIY homeowners find it less stressful to manage their own timelines for house projects and can work when it’s convenient for them.
Feeling of Satisfaction
In addition to the timeline, DIY homeowners also get great joy out of accomplishing such a task. When it comes to their home, they are so proud to maintain and repair it on their own. It’s a very powerful feeling to take care of your own stuff around the house, plus the learning experience can be enjoyable and can get the whole family to work together.
Cons of DIY Roofing:
End Up Costing More Money
If saving money was your initial reason to approach DIY roofing, you might want to consider the fact that if any issues or surprise fixes come up, you may end up spending both more time and money on your DIY project. The thing with doing it yourself is that even though you may be able to lay your own shingles if you come across issues tearing away the old roof, such as water damage or structural damage, that can put your entire repairs on hold.
Larger issues having to do with your roof come up all the time in these types of repairs, and the average DIY homeowner may not be able to handle it, or if they can, it will cost them so much more to obtain the proper materials and permits to fix it.
Limited Materials & Permits
Speaking of permits, homeowners might not be able to get such building permits on time. The same goes for materials. One benefit of hiring a contractor is that they have quick, easy access to the proper tools, materials, and permits to get the job done quickly.

Risk Getting Overwhelmed
Inexperienced homeowners can quickly get in over their heads with installing or repairing a roof. It takes many steps, a lot of back-breaking work, and a ton of time and energy to get the job done. It sounds easy at first but can quickly be overwhelming as they discover the work required to get it done.
Can Take Longer
To piggyback off of that…the entire roofing project can take way longer than anticipated and especially take longer than it would if a professional contractor had done the job. Homeowners who have full-time jobs may find themselves only having time in the evenings or on weekends to work on their roof. Whereas a professional would be able to get the job done with their team within a day or two. It’s definitely something to consider before tackling a DIY roofing project.
Tools & Materials Required
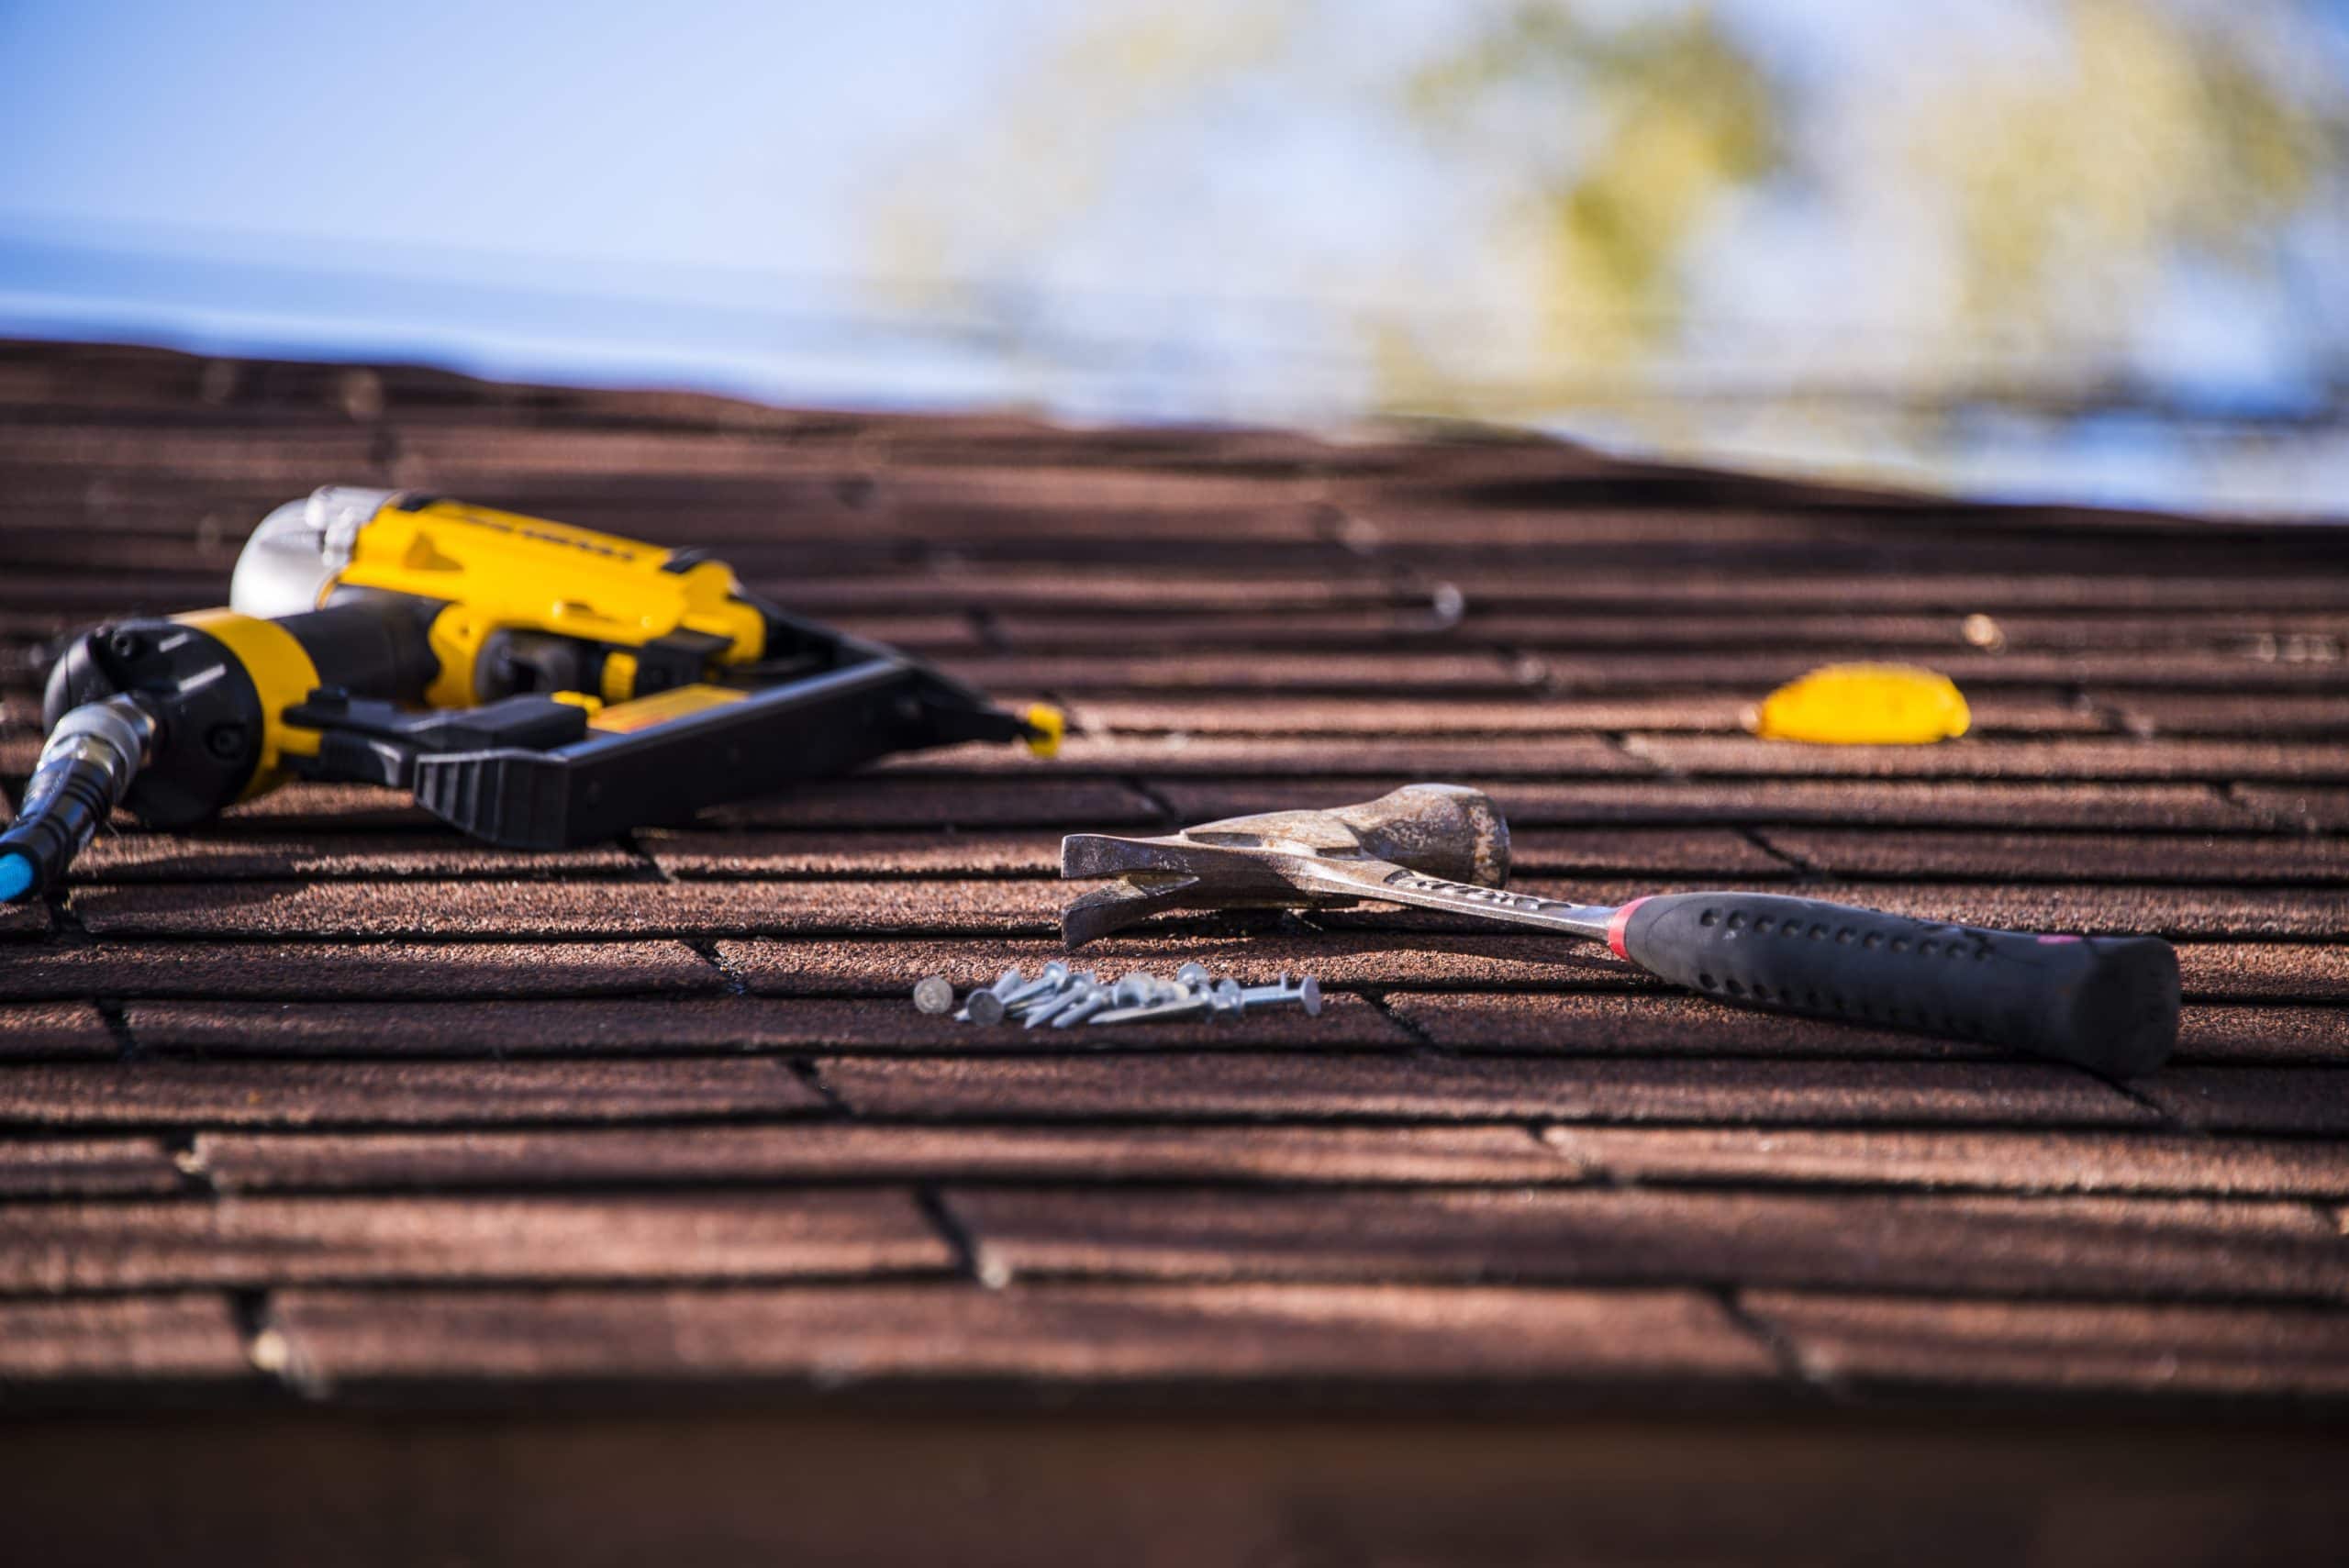
Chances are, you might not have all of the tools or materials needed for a roofing job just lying around your garage. There are some specific things you’ll need to get started, and here’s a list of the bare minimum tools and materials needed for your DIY roofing job.
Necessary Tools:
- Air compressor & hose
- Caulk & caulking gun
- Chalk line
- Circular saw
- Extension ladder
- Roof safety harness & helmet
- Roofing nailer
- Scaffolding (extra helpful but not necessary)
- Staple gun
- Straightedge
- Tin snips
- Toolbelt
- Utility knife
- Work gloves
Required Materials:
- Asphalt shingles
- Drip edge
- Felt underlayment (#15 or #30)
- Flashing (step and dormer, valley, and vent)
- Hook blade tool
- Roofing nails
- Sealant
- Self-adhesive underlayment (the waterproof layer underneath shingles)
- Staples
Tips for Roofing Your Own Home
When it comes to roofing your home, it’s essential to follow the following steps in order so you get each one done the right way the first time. So here is a thorough step-by-step process to get the job done.
1. Obtain Necessary Permits
Depending on where you live, there may be different building codes or permits required to re-roof your home. Make sure to look into it before taking any action. You’ll definitely want to legally re-roof your own home and ensure it’s up to code. This can take some time to obtain permits, so don’t wait until the last minute to get them.
2. Purchase Tools and Materials
Next, purchase all of your tools and roofing materials. You might still find yourself running to the hardware store during your project at some point, but those trips can take a lot of critical time away from your roofing project. Therefore, getting as many of the things you need beforehand can keep you organized, prepared, and ready to tackle the project in one swoop.
3. Tear off the Old Roof
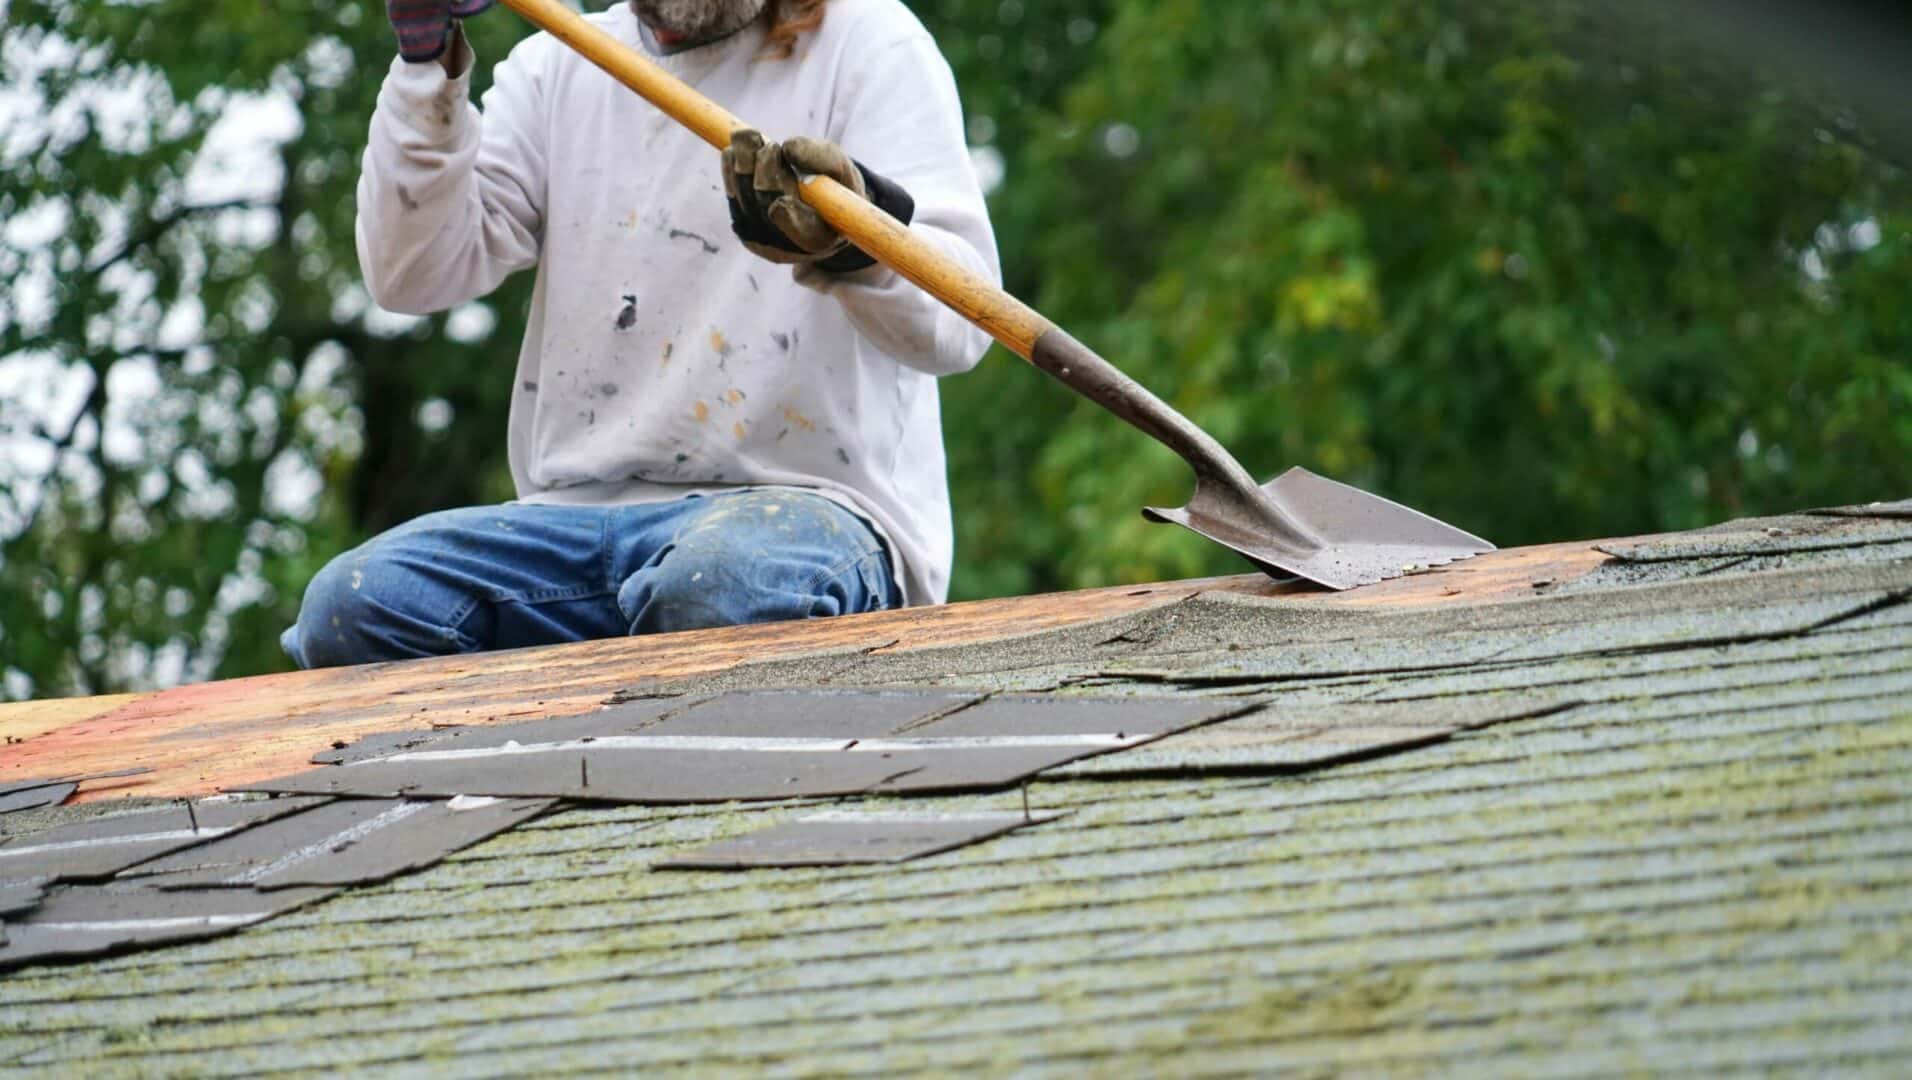
Here’s the fun part: ripping off your old roof. You can rent a big dumpster or a Bagster® to toss your debris and roofing materials in. If you place it on one easily accessible side of your home, you should be able to toss them down right into the dumpster. It’s imperative to use the proper tools to remove your roof as you don’t want to risk any damage that would require repair before installing your new roof.
If your shingles are damaged or really old, you might be able to get away with lifting them and tearing them off or even using a prybar or shovel to lift up the edges and loosen them. You can purchase or rent a roof shovel or shingle remover for maximum efficiency for an even quicker shingle removal.
4. Install Drip Edge
A drip edge isn’t technically required (depending on building codes). Still, it is a nice touch that not only makes the edge of the roof look clean and finished but it also keeps water from running directly along your fascia as well as keeps the shingles from curling over the edge. The installation will happen in two parts: before installing the underlayment, you will fasten the drip edge underneath onto the fascia. Nail it down every 1 to 2 feet. Then, after you install the underlayment, fold the drip edge up and over the edge of the underlayment and nail it down the same way.
5. Roll Out the Self-Adhesive Underlayment
Next, you will roll out your self-sticking underlayment. This is the bottom layer that acts as another layer of water and ice protection for your home. Water that gets under your shingles won’t immediately penetrate your roof, thanks to the underlayment.
To install, roll the first layer out with the self-stick side on the bottom. You will peel off the top portion of the roll as you go. Then, after ensuring the first layer of underlayment lies flat, nail down the top edge and peel off the lower half of your backing (this should be the side close to the roof’s edge).
Next, you’ll use your guidelines to lay down the next row of underlayment. If you don’t want to use the guides, just make sure you overlap at least two inches over the first one. Keep in mind, on higher-pitched roofs, these long sheets will be less easy to do in one fell swoop, as they might slip down as you go. So just do smaller sections before nailing down to secure it in place as you go along.
6. Roll On the Felt Paper
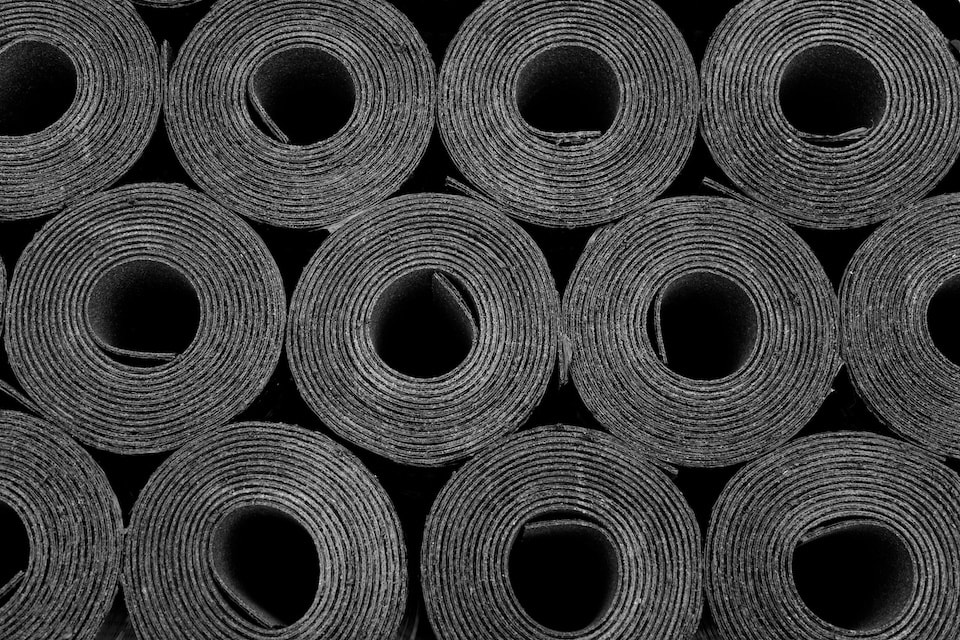
Once the underlayment is laid out flat, with the backings removed and securely nailed down, you will lay your felt roofing paper on top. Start by tacking down the first section of the felt paper with a dozen staples to hold it in place and begin to unroll, stapling groups of staples every foot to keep it secure in place.
7. Overlap at the Roof’s Ridge
When you reach the top of your roof with the felt paper, fold over the excess and staple it to the other side. Do the same as you finish the other side of the roof. This overlap ensures the ridge of your roof (which is a large seam) remains leak-proof as you apply shingles on top of it.
8. Install Valley Flashing
Just like your ridge, the valleys of your roof are a long seam that can be susceptible to water leaks. This is why it’s important to install valley flashing that will keep that crevasse watertight and prevent leaks. This must be done before laying your shingles.
9. Begin With Your Starter Shingles
Much of these steps are all to waterproof your roof. These steps are critical to ensuring your roof is installed properly and are all preventative measures you must take. So keep close attention to each of these.
This next step is important—install your starter shingles. Starter shingles will be installed overhanging the drip edge on the bottom edge of your roof. Make sure you line it up over the drip edge, with the adhesive edge on the bottom (not the top like other shingles). You will use extra nails to secure this starter row. Then, when you install your first row of shingles, they will stick to that adhesive strip on the bottom, creating a perfectly tight seal impervious to ice melt and water.
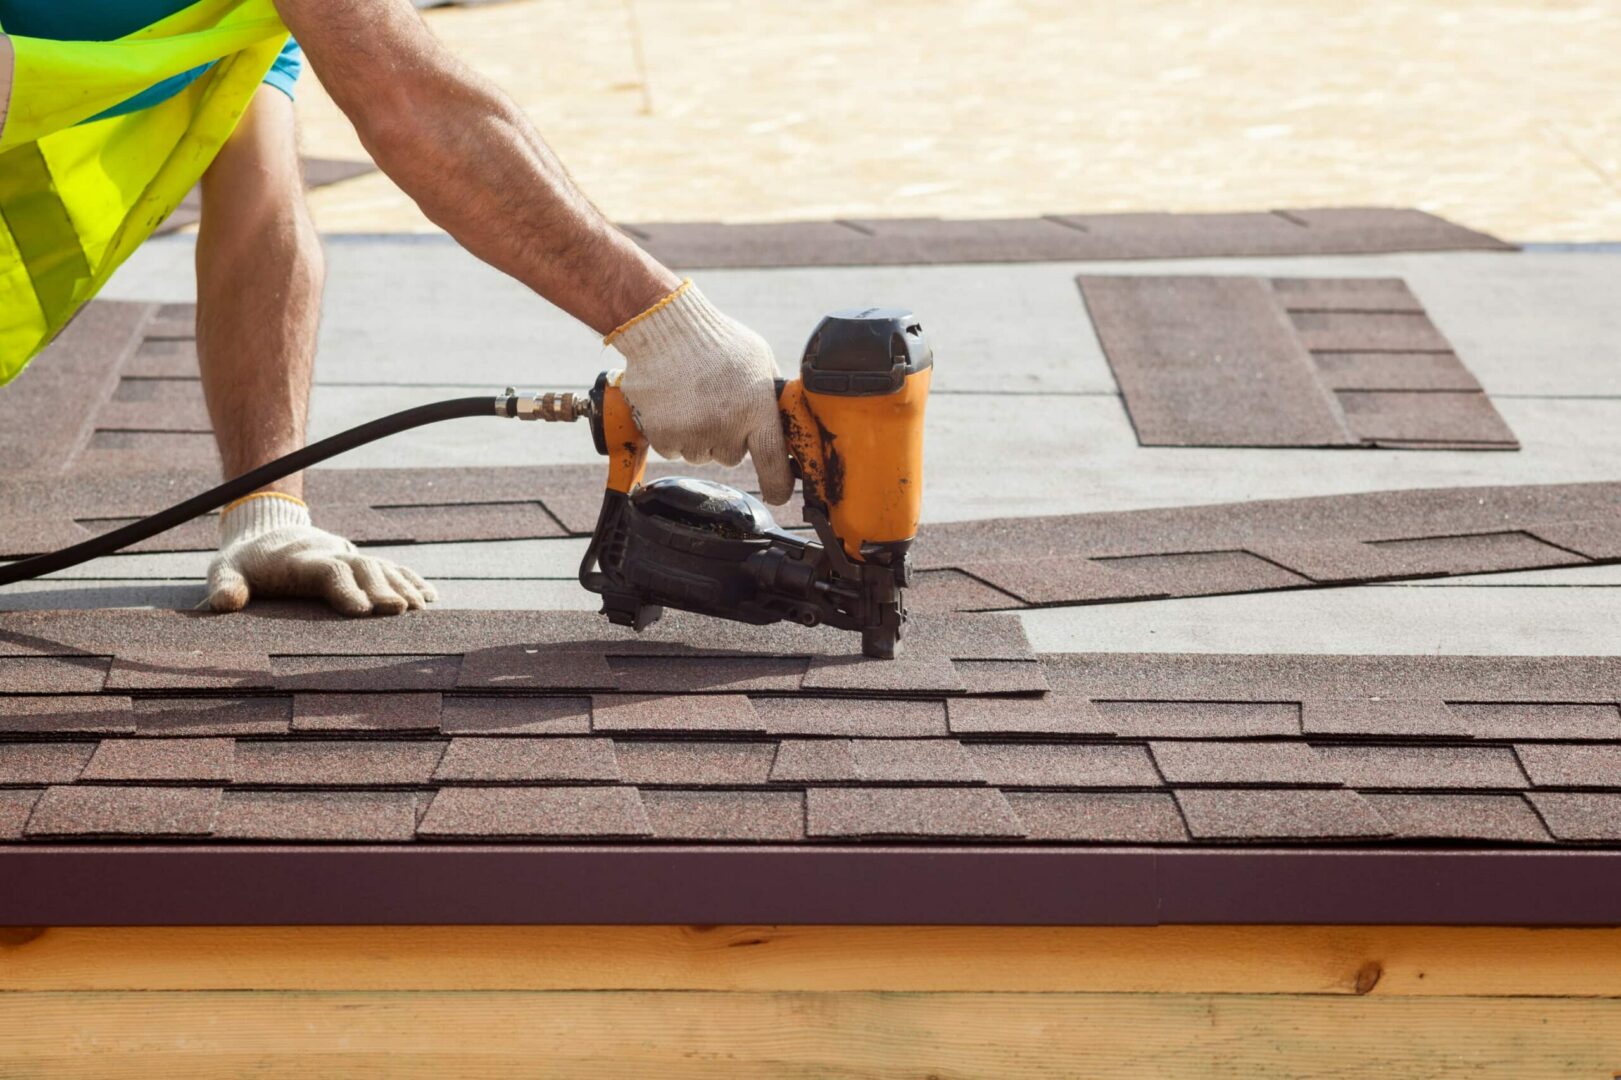
10. Install the Rest of Your Shingles
Installing shingles is not a one-size-fits-all deal; in fact, most manufacturers will have precise instructions for installing their shingles. Follow these directions. This is very important. Things like wind speed, your roof’s pitch, rainfall, and other factors can affect how many nails to put in your shingles and how far apart to install them. Failing to install shingles based on the manufacturer’s suggestion properly can lead to failed shingles and leaks. It can also void some warranties as well as lessen the lifespan of your roof.
This stage is where your hook blade will come in handy. You will use it to trim the excess edges of your shingles at the edges of your roof. Then you will also need to install step and dormer flashing as you install your shingles. Anywhere your roof hits a wall, chimney, dormer, or another wall, it will require step flashing. Make sure to overlap and weave the flashing together, then install your shingles on top of it. This will create a water-tight seal.
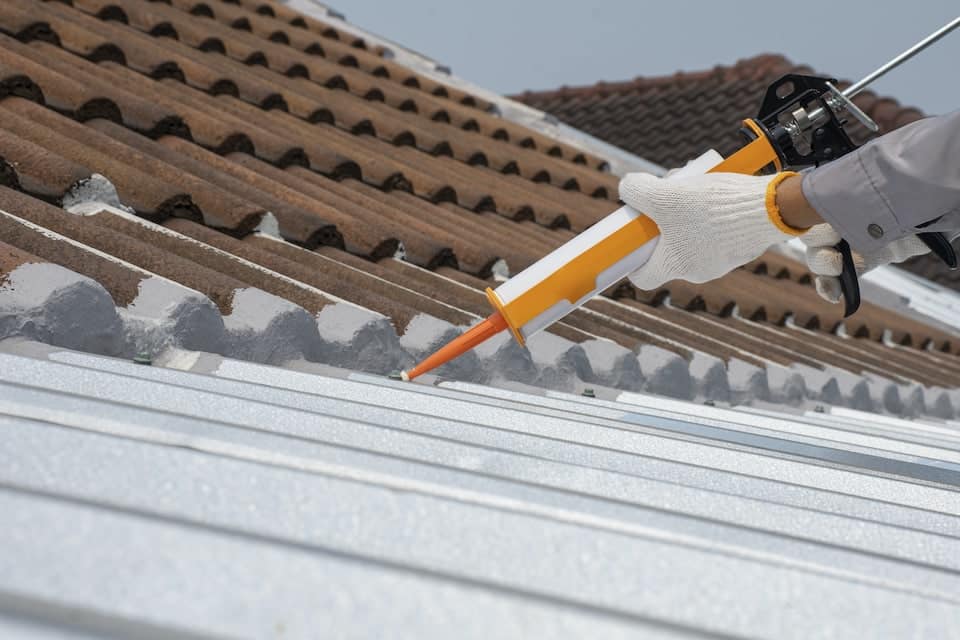
11. Water-Proof Vents and Stacks
There is a different method when waterproofing your vents or roof stacks. You must follow these directions to prevent water leaks (of course) around your vents. First, install a layer of underlayment around your vent, adhering it with caulk and roof sealant. Nail it down, and then after you have shingles installed halfway up the vent, install your flashing around it. These areas of your roof are some of the highest susceptibility to leaks, so taking this extra time and effort is 100% worth it and necessary.
12. Cap the Ridge
When you reach the ridge of your roof, you will install your shingles horizontally, so they overlap each other the long way along the edge of the ridge. Nail each shingle about one inch above the overlap seam. Note: you may need longer nails because you are nailing over so many layers of overlayment and shingles.
Pro tip: If you have older vents, it might be a nice time to consider ridge vents. These are often considered an upgrade, as they offer better performance and offer nicer aesthetics, as they blend in seamlessly with the ridge of your roof.
13. Clean-Up
Do one last check to make sure everything is nailed down securely, lined up straight, and all vents, valleys, ridges, and dormers have the appropriate flashing and sealing to ensure a water-tight roof. Then, sweep off the roof to make sure all debris is cleared, and use a magnet roller to pick up any loose nails. Do the same as you reach the ground and pick up the final debris. Contractors usually use magnet rollers, but they make sure 100% of nails are picked up from the yard. These are very basic instructions for the most basic of shingle installations. Things can vary greatly depending on the size of your roof, how many roof elements you have (skylights, vents, dormers, boots, etc.), and how steep or low-pitch your roof is.
Installing the Best Roof for Your Home
As you can see, there are many steps and many tools and materials required, and if you can’t hack it as a DIY homeowner, you should definitely call the pros. Apple Roofing professional roofing contractors are ready and willing to help you install your brand new roof. We can do it in no time at all, and you’ll be left with a roof that is good as new and one you can still be just as proud of. Contact us today, and we can save you the pain of doing your own roof installation.

